

How to fix your own d@mn windows
The idea that replacing older windows with shiny new plastic ones is a necessity or an inevitability—is, frankly, a lot of nonsense.

Not to be all, “don’t trust Big Window,” or “the window lobby is really screwing us over,” but… It’s kinda true. Well, I don’t actually think Big Window is a thing, and I’m not intimately involved in the political side of Pella or Andersen windows (note that’s -sen, not -son), but the prevailing “wisdom”—the idea that replacing older windows with shiny new plastic ones is a necessity or an inevitability—is, frankly, a lot of nonsense.
I’ll be the first to admit that, as a baby REALTOR®, I’m sure I suggested window replacement to clients when showing an old house with old windows, because I truly thought that was the best way to optimize energy efficiency in a home. And of course, it’s easy to tout the benefit of new windows in terms of monthly cost savings. But when you break it down, it doesn’t actually add up.
I became Old Home Certified® a few years ago, through Rethos (then called Preservation Alliance of Minnesota), a local preservation group. I suppose I had a sense that old windows could be refurbished, but I thought the process would be difficult and involved. It wasn’t until this summer, when a boxelder bug-provoked window breakage mishap started me thinking about doing this myself, both to achieve a sense of personal glory (obviously) and to save the expense of hiring a handyperson
Even better than youtube videos, Rethos regularly offers a half-day, in-person workshop. The one I attended was held inside an actual home, with actual windows that needed reglazing. The instructors were both highly experienced and knowledgeable, the workshop was hands-on, and it was a morning of discovery for all of us, since the whole process happened unrehearsed (they didn’t know how easy/difficult it would be to do the repair), in situ. Two thumbs up from this experiential learner.
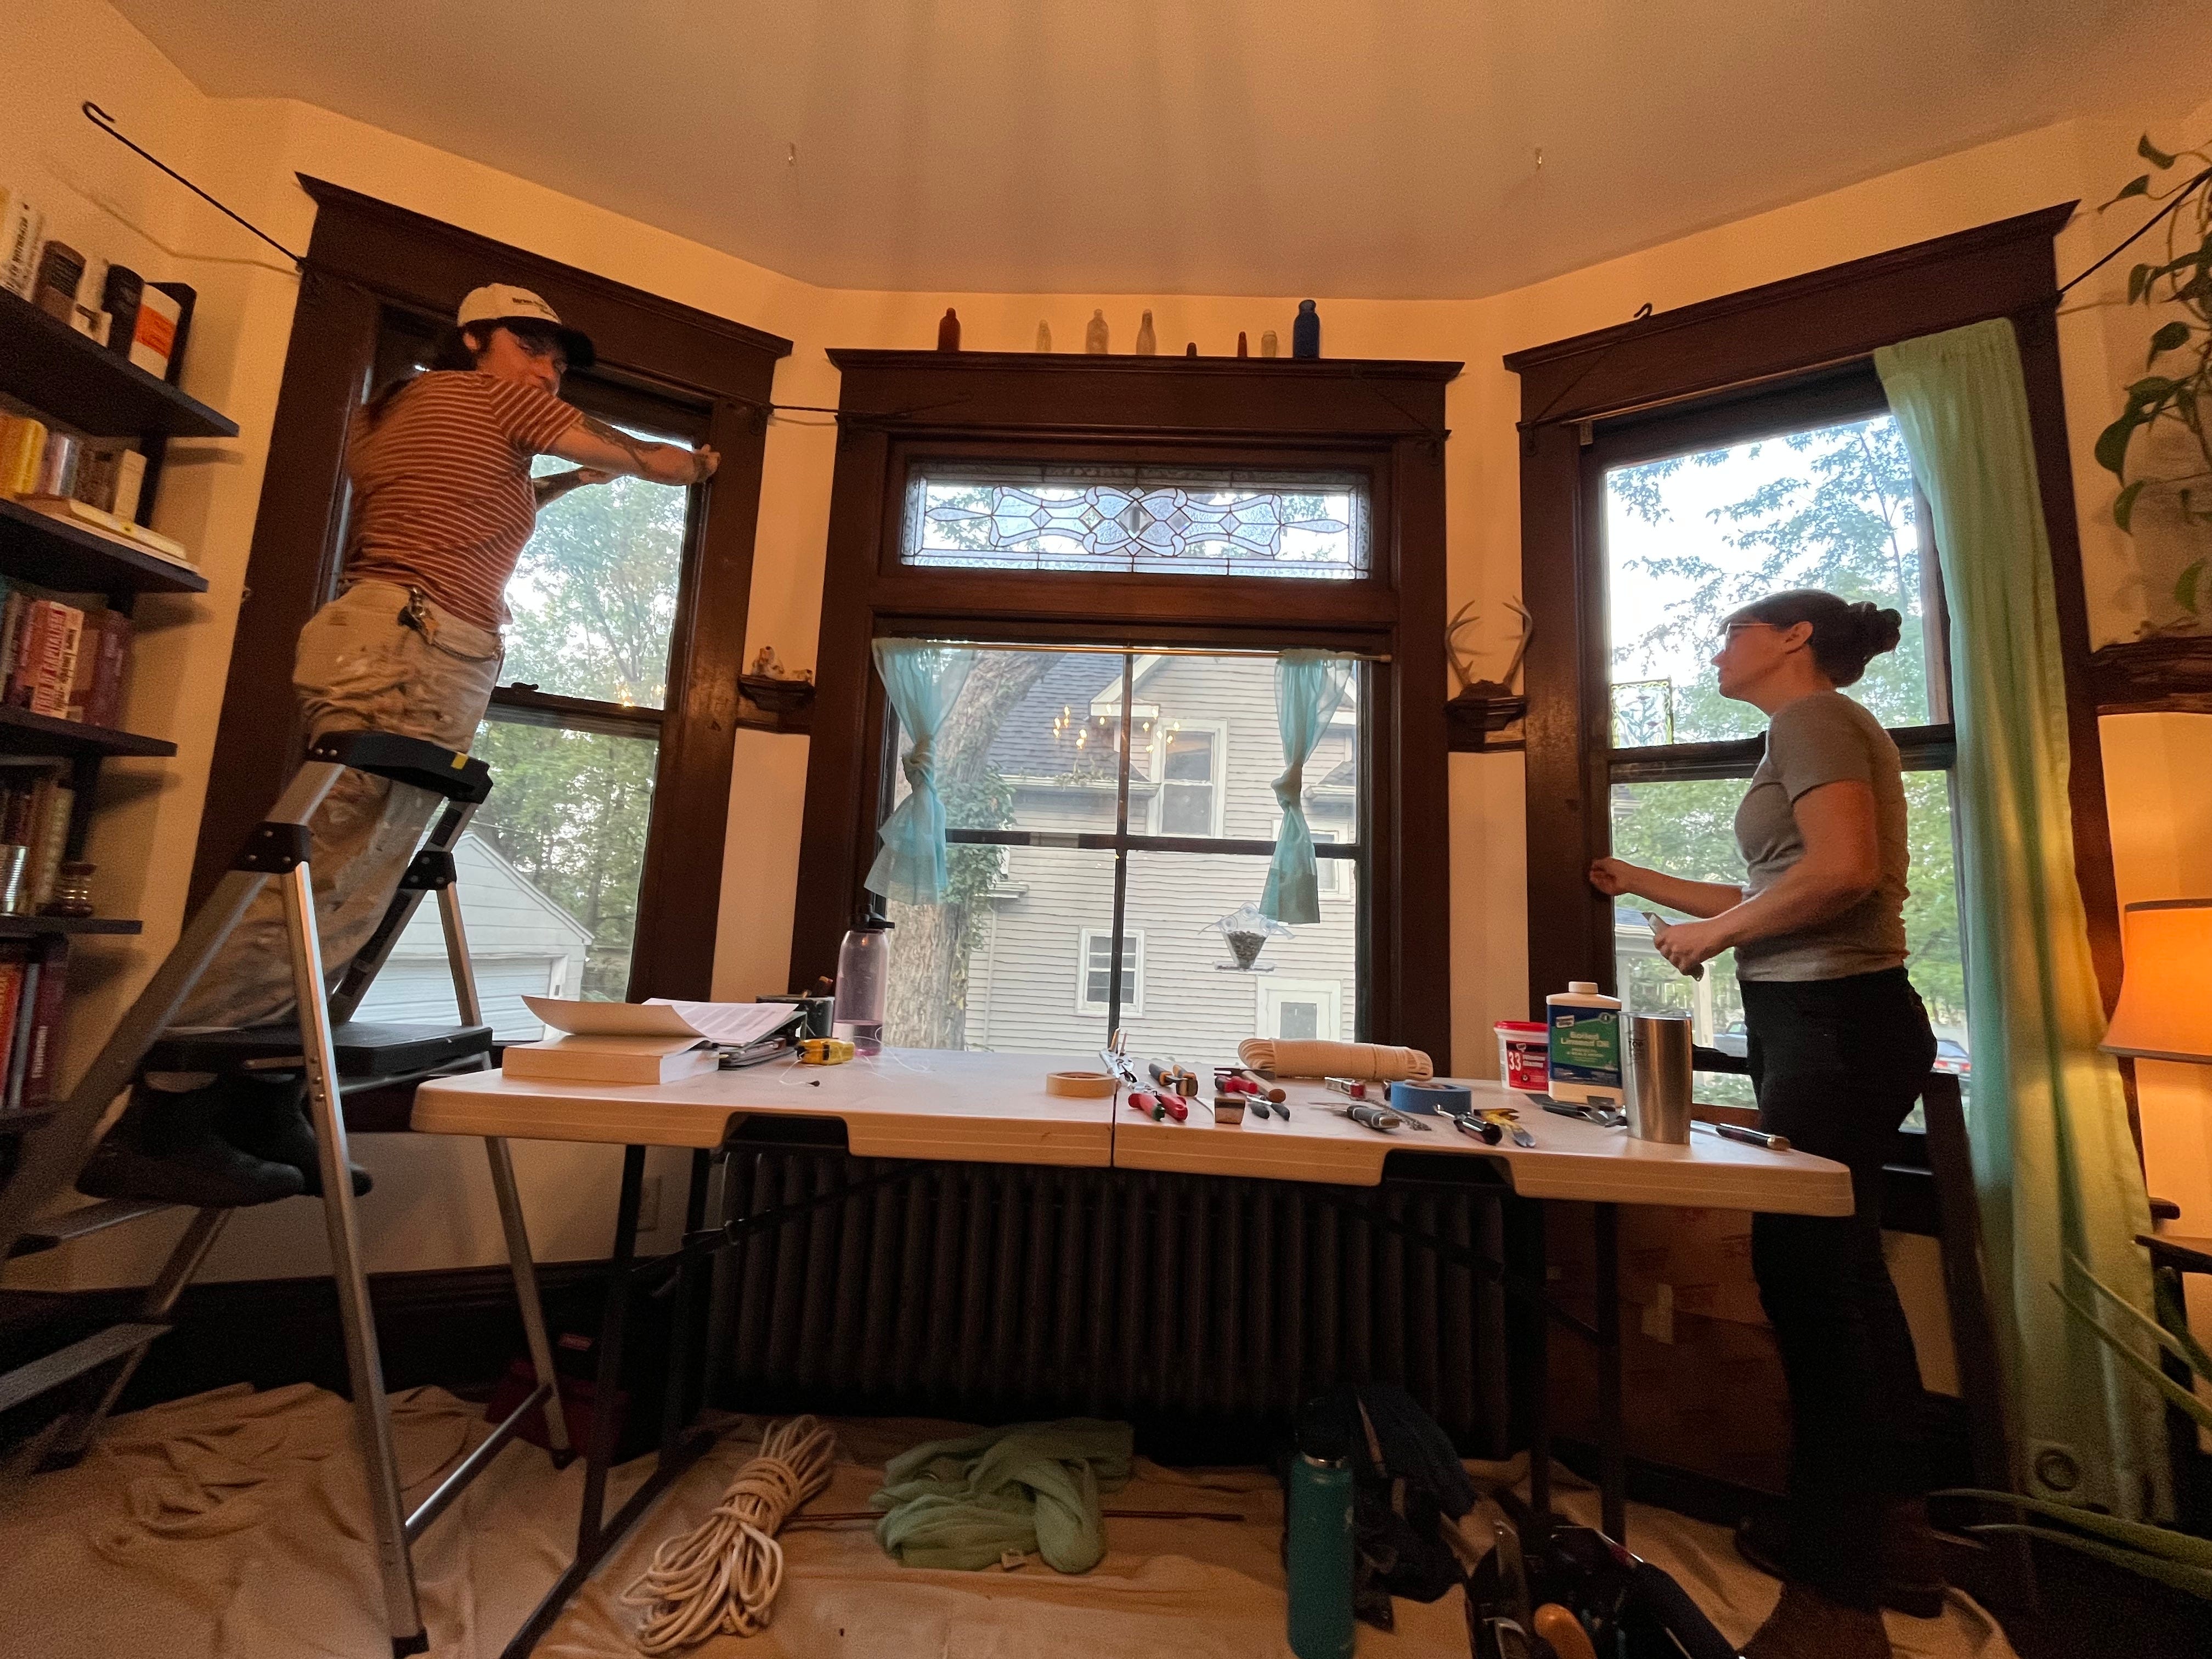
So how do you do it? The process is fairly simple once you know a few things. The first is that the stops, the part of the frame that holds the window in place, are removable. Yep, you can pry those wood pieces out (there may be screws, and you may first need to score it, if the frame has been painted), and then the frame can just be... removed. [Insert mind-blown emoji here.] From there, you remove the window, and detach the ropes (which attach it to the counterweights hidden on the side) by removing any nails holding the knot in place on the side of the window and unseating the knot, and possibly cutting the rope, if you intend to replace it.
You’ll want to be careful when you remove the glass, by taping one side with painter’s, or masking tape. Since the glass in my window was already broken, I used tape to secure the shards in place, shattered it more, then carefully removed it all and placed the glass inside a paper bag to throw it all away. I slid a key inside the slot to ensure I’d removed all the glass shards.
From here, you’ll take one of two routes.
Replace the glass, glaze and paint the window yourself; or,
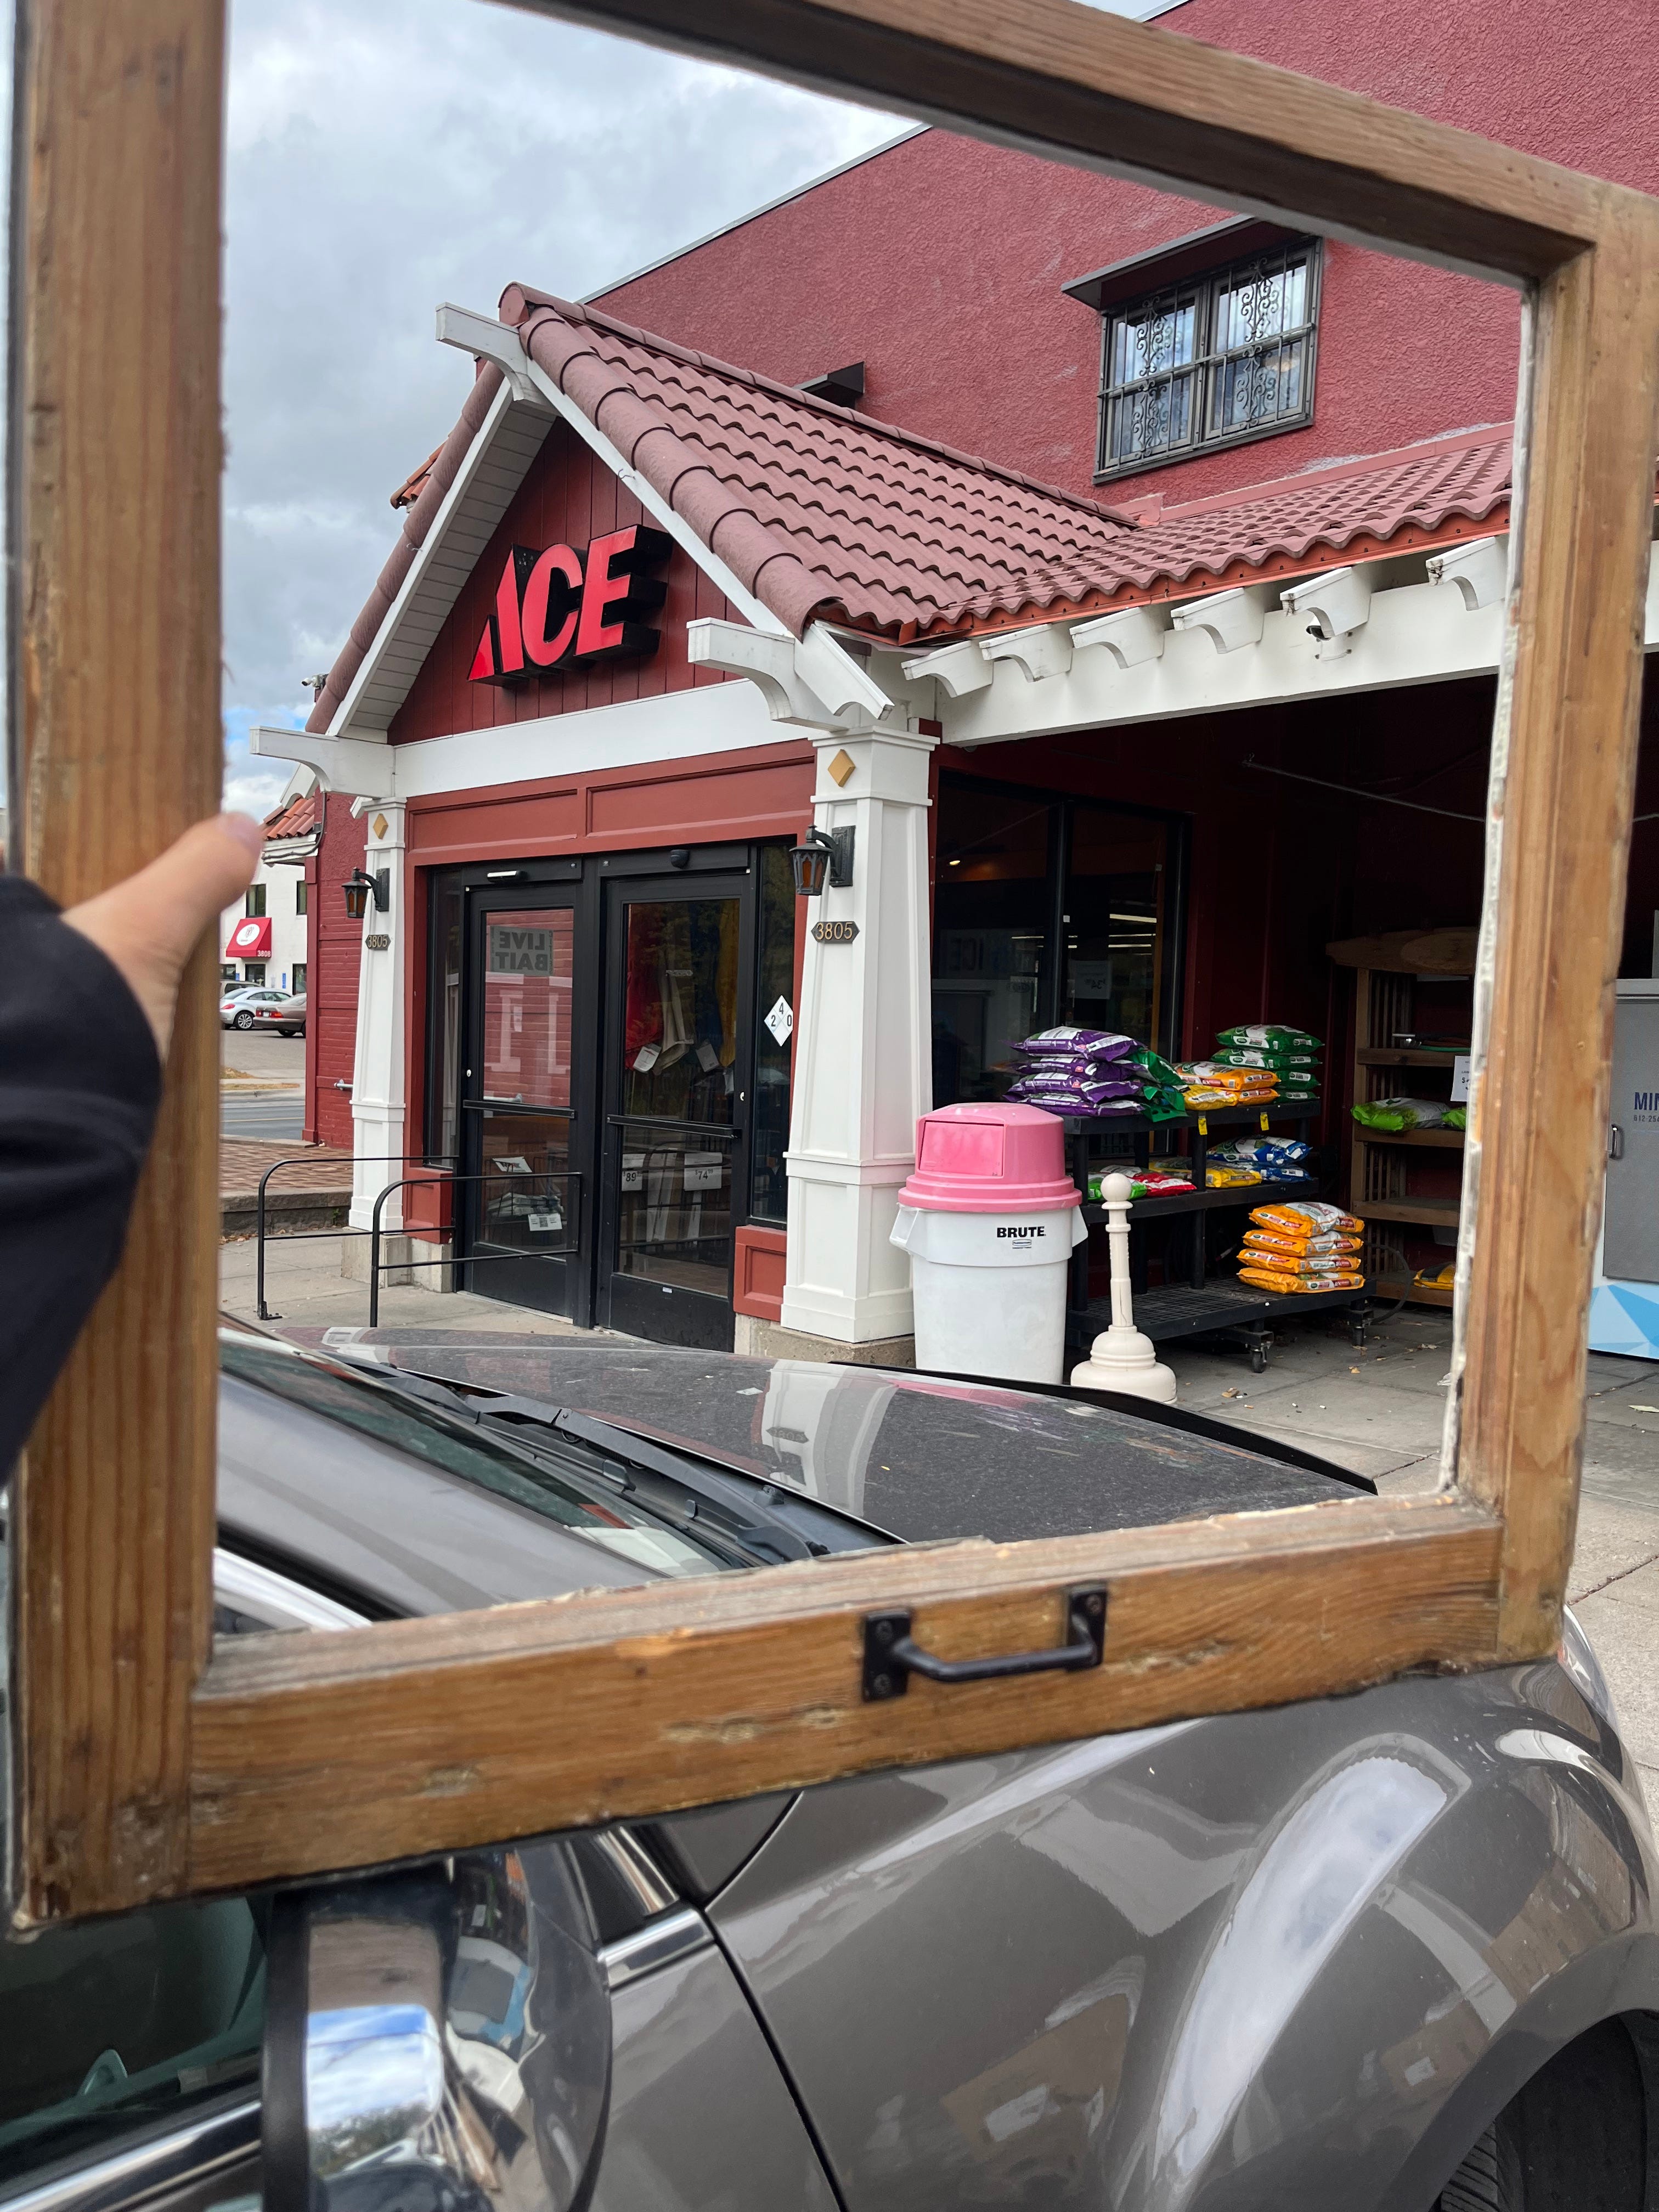
Bring it to your local hardware spot and have them do it for you.
The first option makes more sense if you’re planning to do multiple windows and want to invest in the tools and materials to DIY. The glass itself can generally be purchased from a hardware store. In the workshop, we had a chance to try glazing and it wasn’t terribly complicated. My bigger concern, I think, would be working with a bare pane of glass, and securing it into the window using glazier's steel push points, then working with the window glaze (both of which require using a bit of force or pressure), and finally painting it to seal it—that’s a lot of putzing with glass as your canvas.
My choice… Around $50 and a month-long turnaround time and not having to worry about breaking glass and how long it would actually take me to finish the job? Yep, definitely a better choice for me.